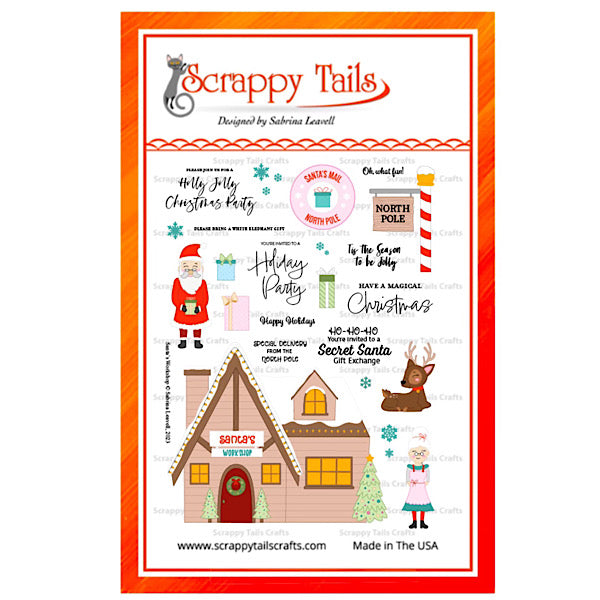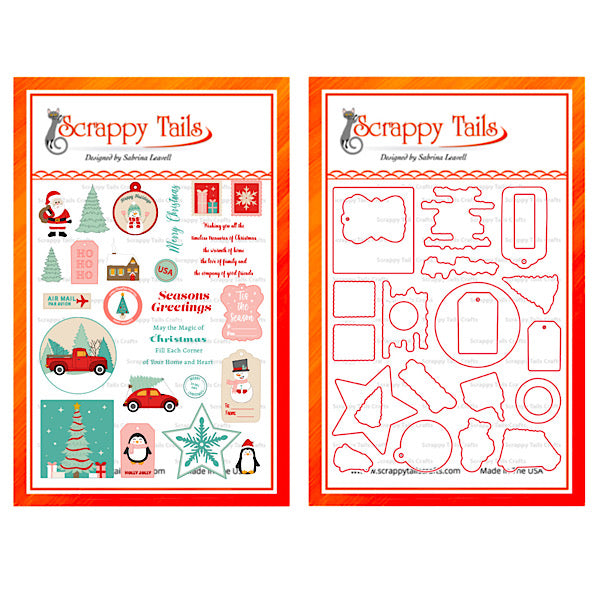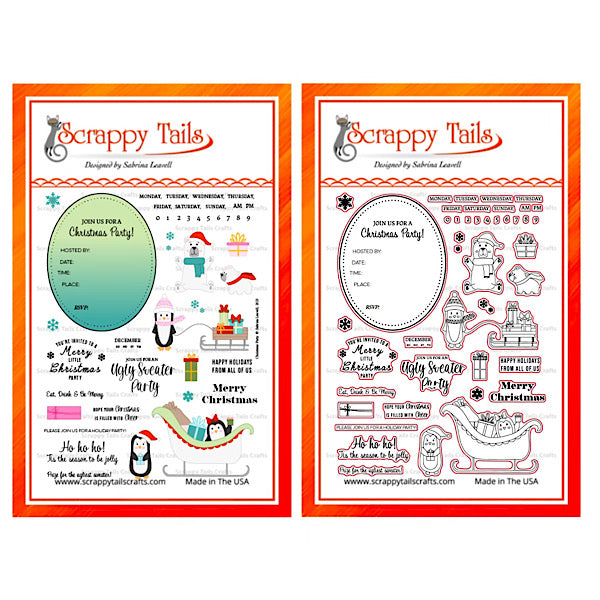

6x8 Christmas Party Stamp and Coordinating Metal Craft Die Set
19 In Stock
Scrappy Tails Crafts
Craft Dies
Product Description:
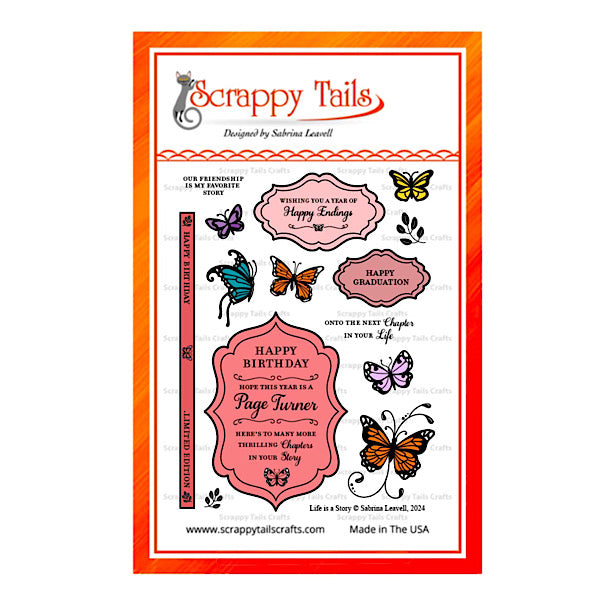
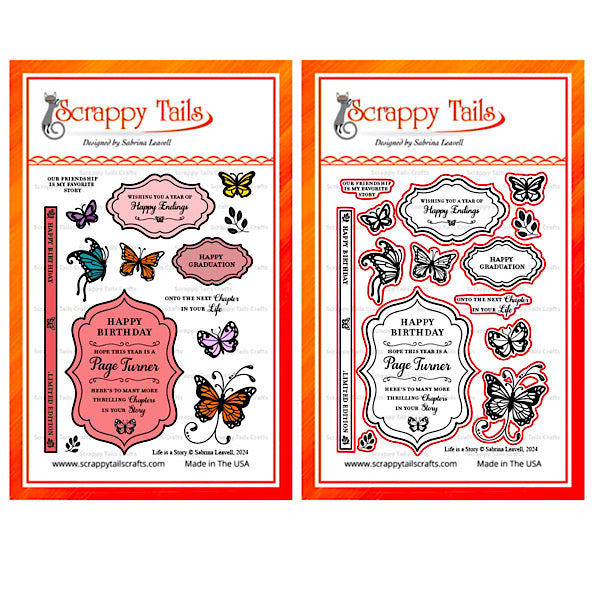
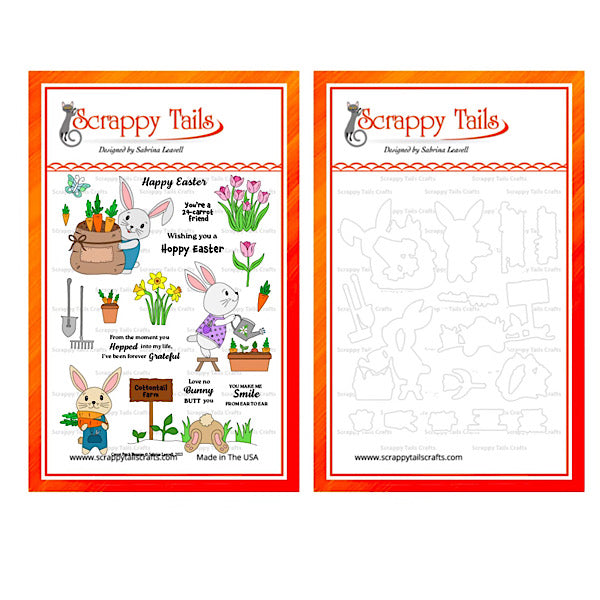
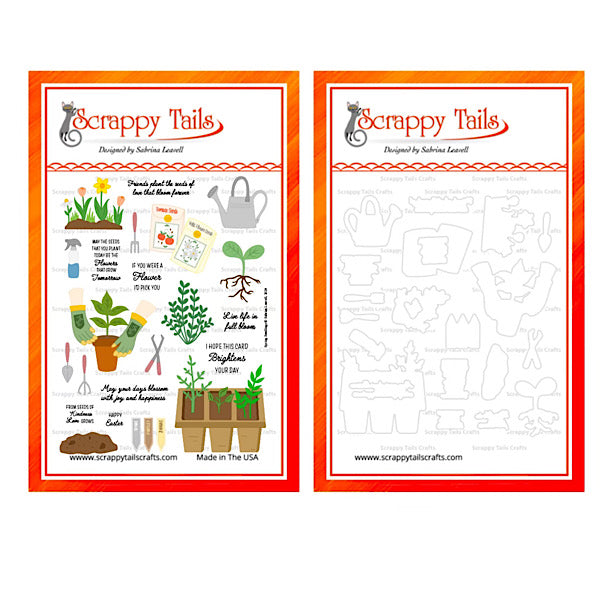
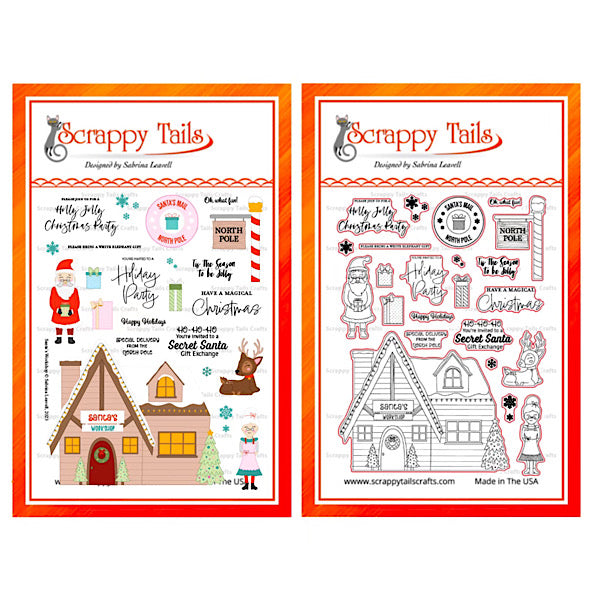
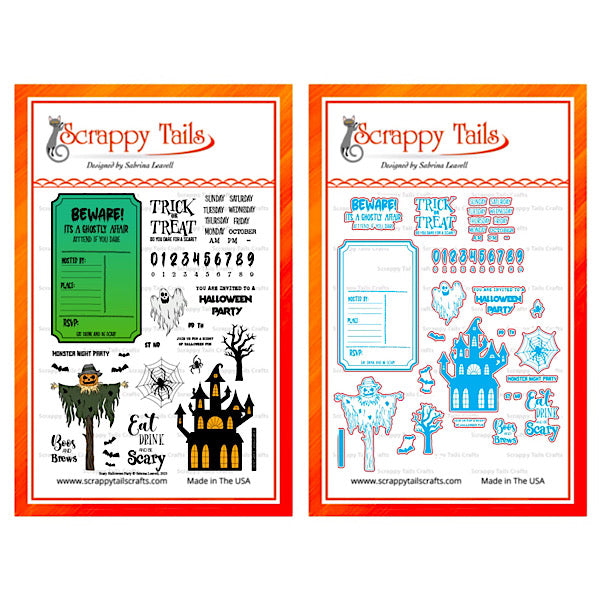
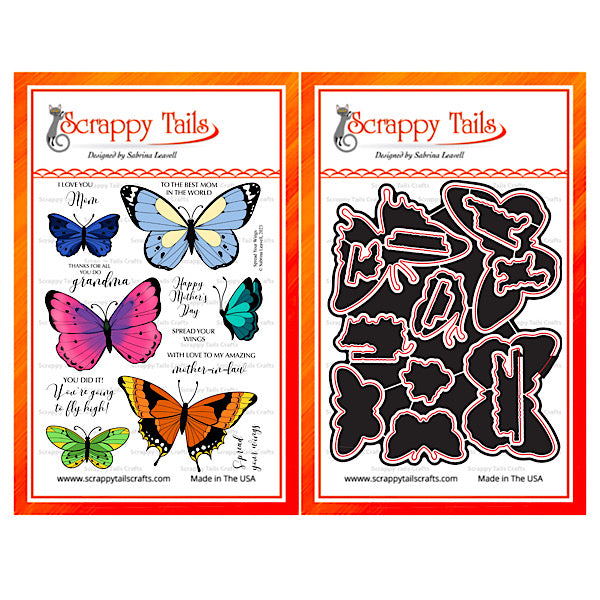
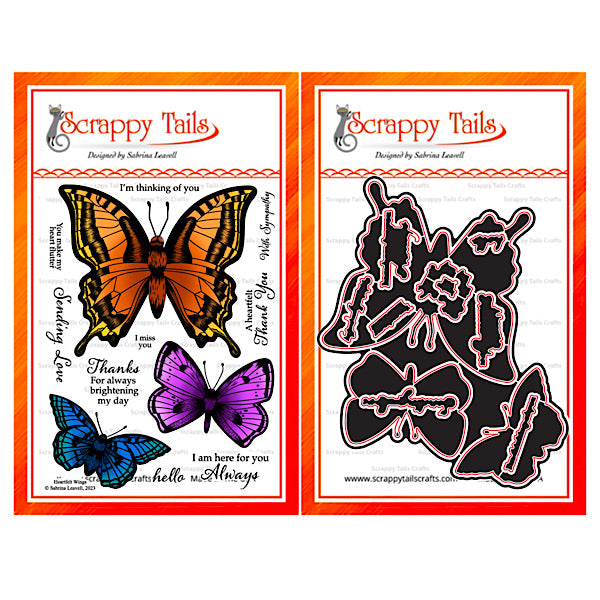
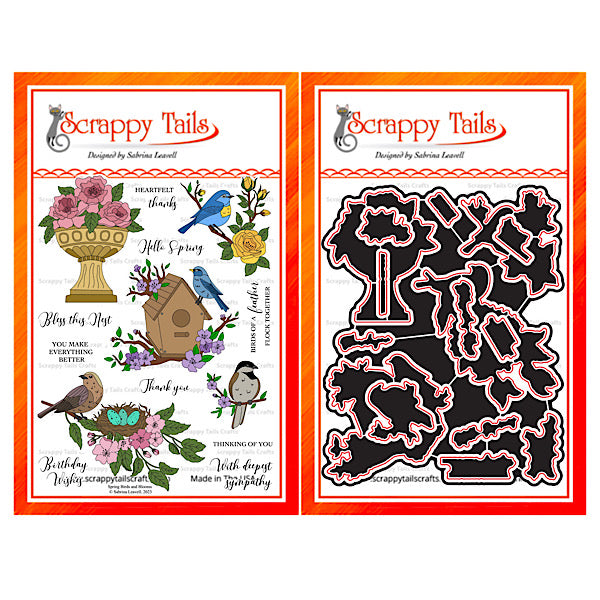
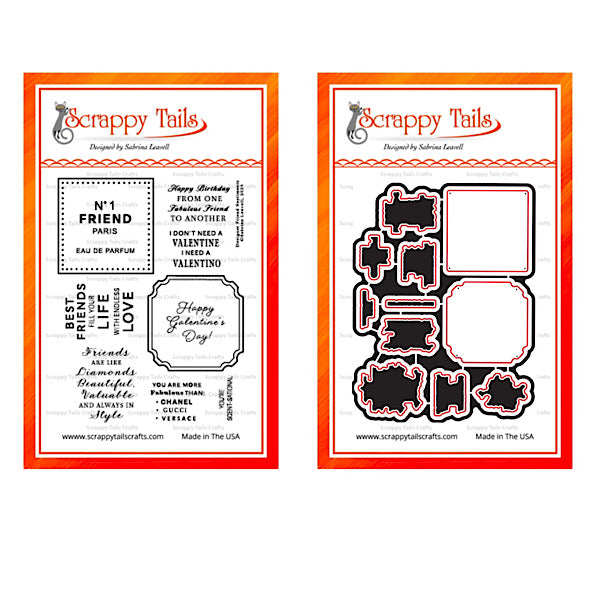
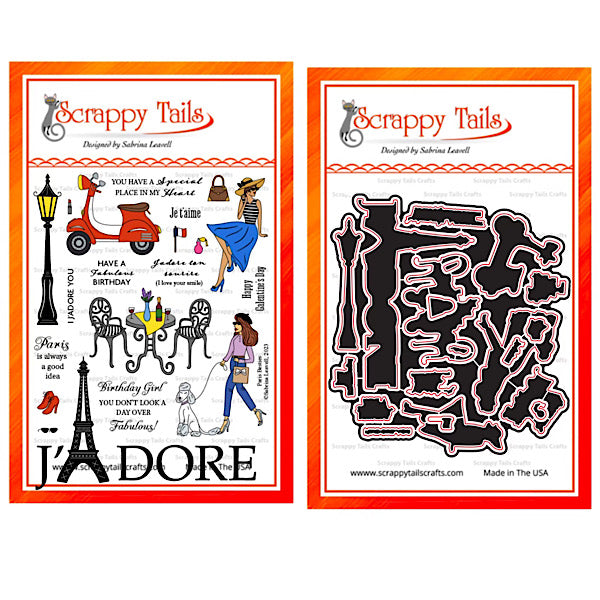
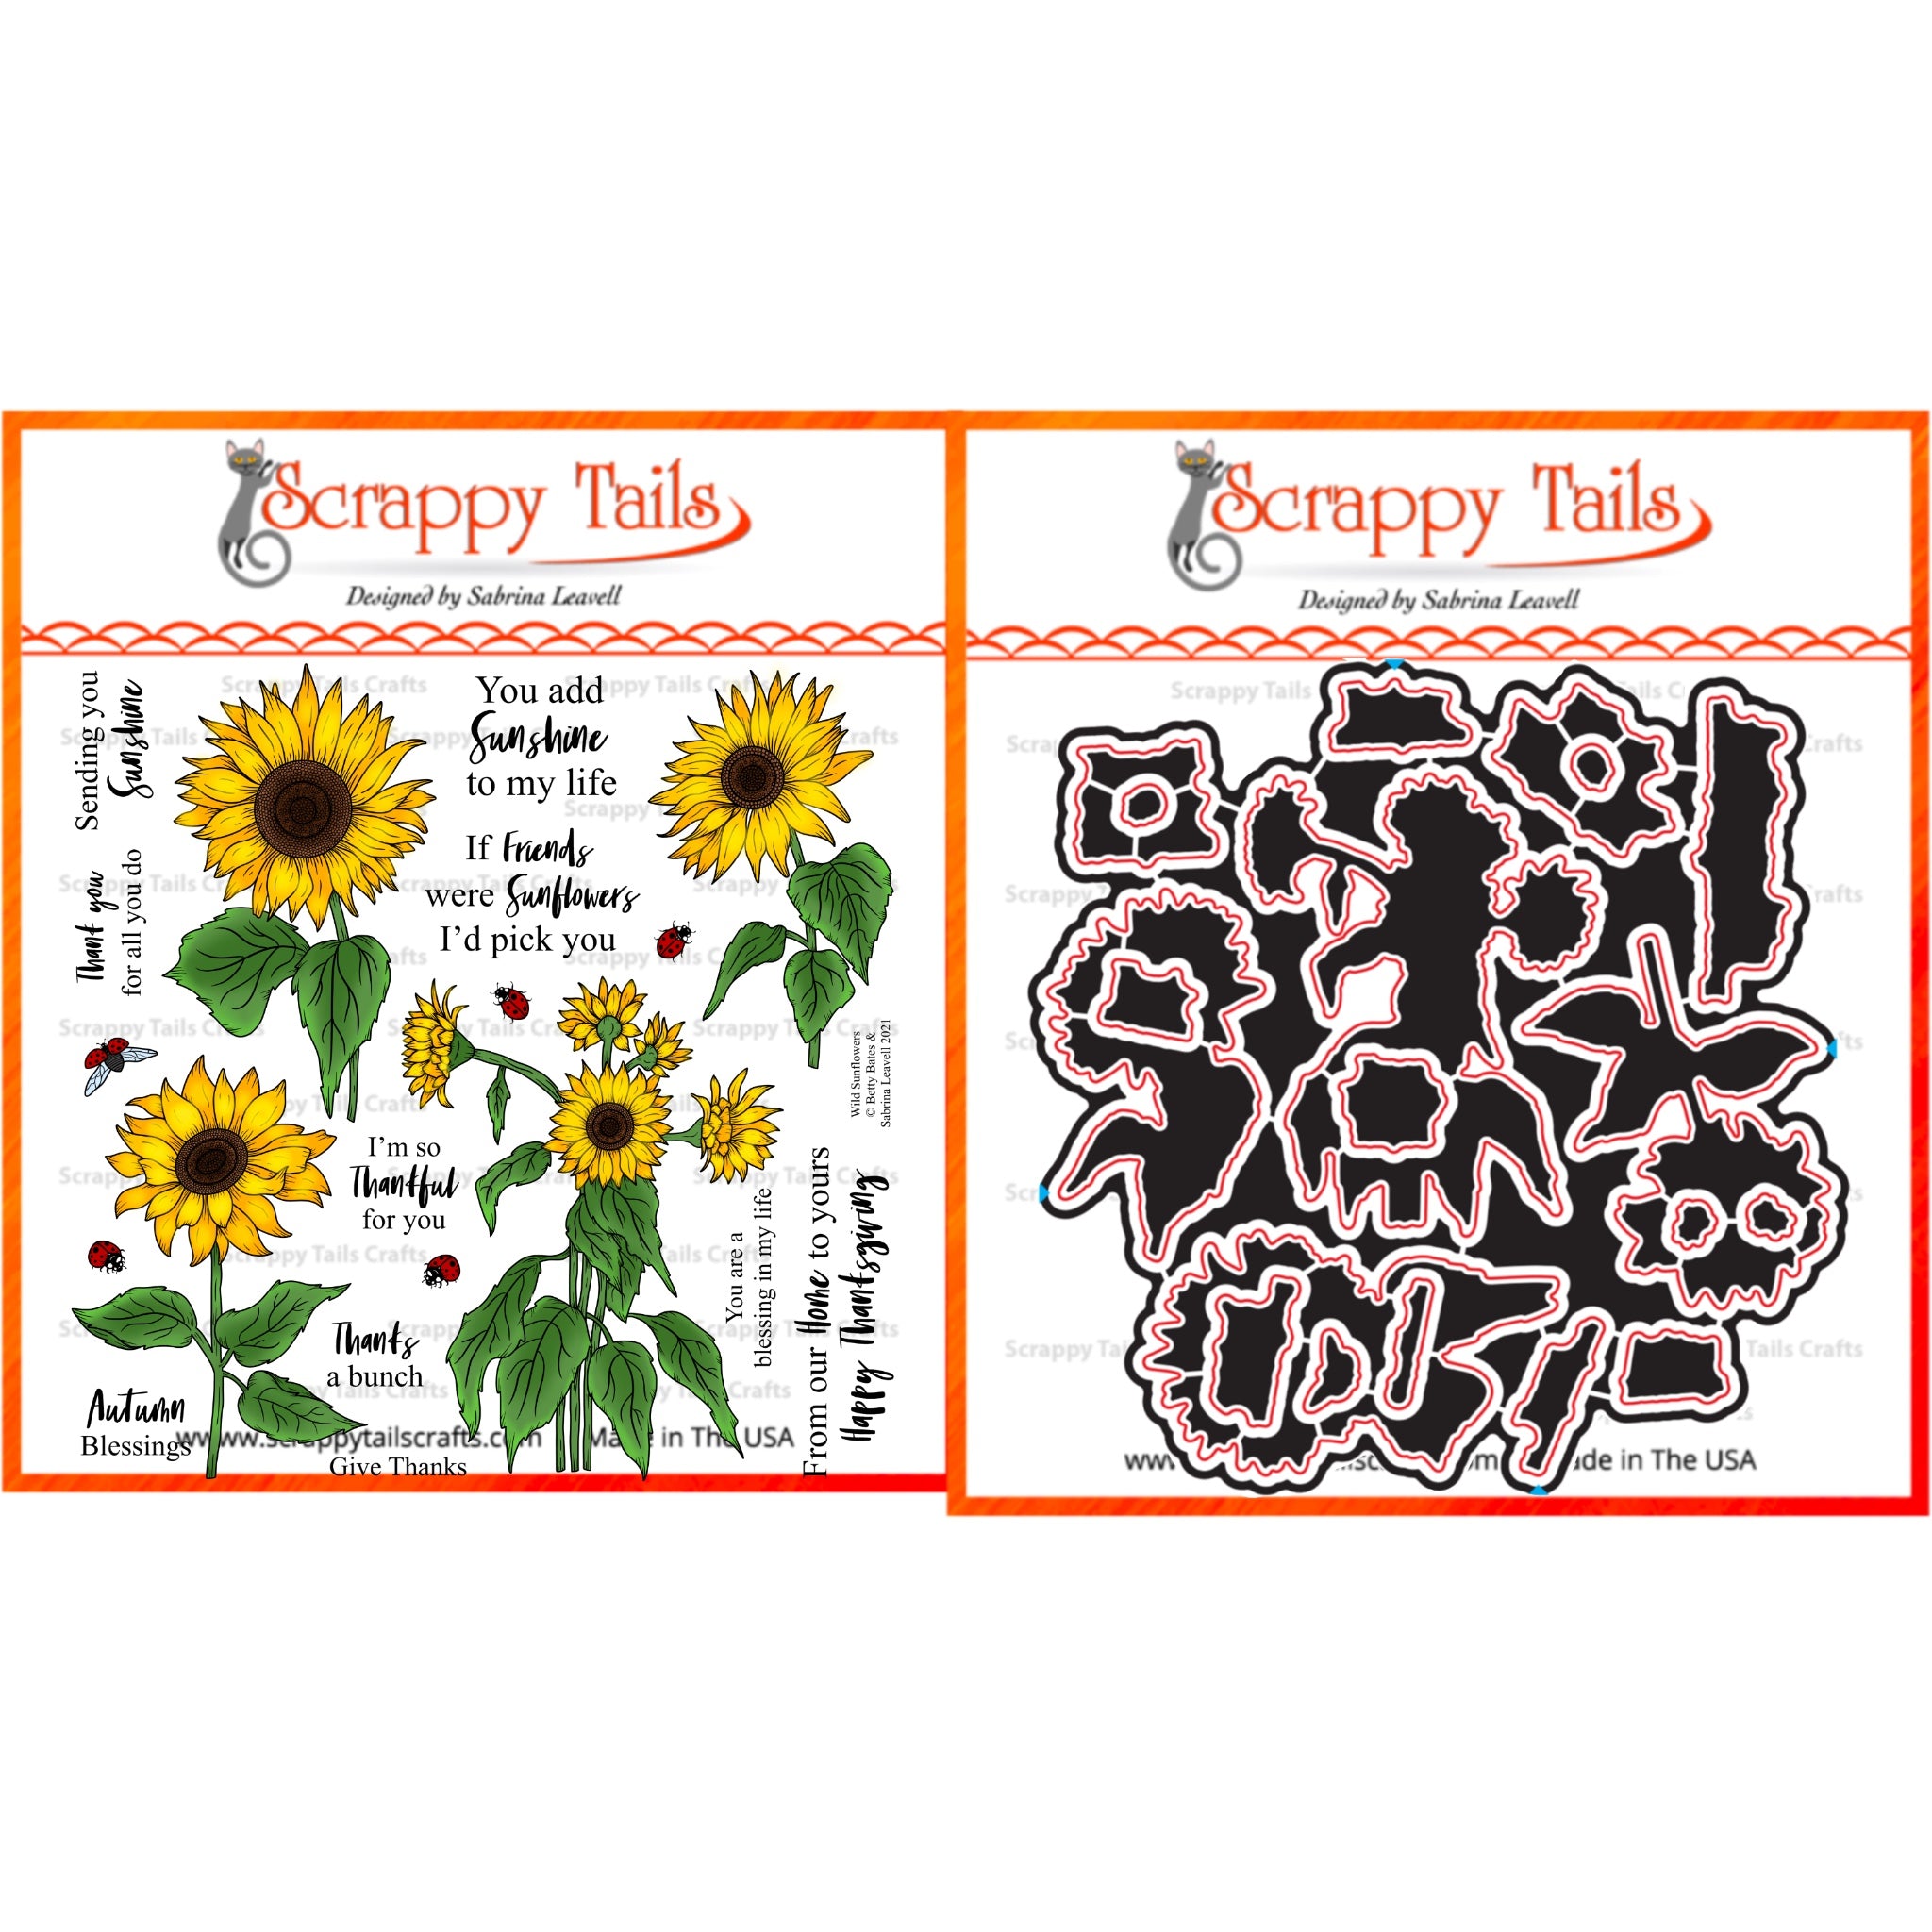
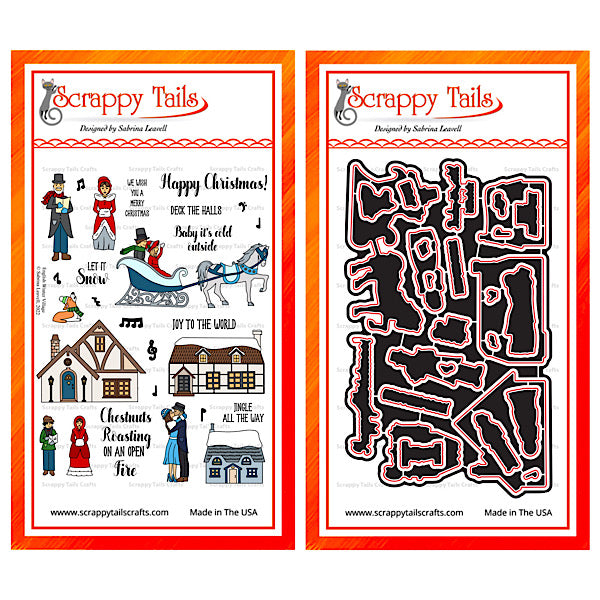
This is a two piece set. You will receive the 6x8 Christmas Party Stamp Set (see details below) as well as the Coordinating Metal Craft Die. The die will cut out both images and sentiments, including individual numbers, days of the week etc.
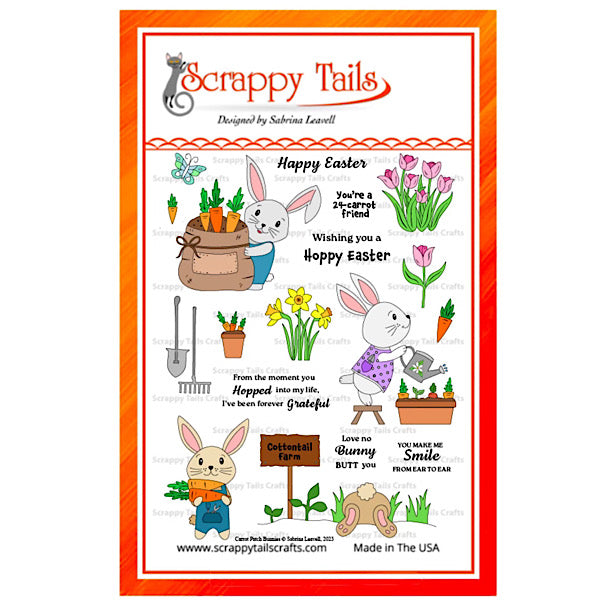
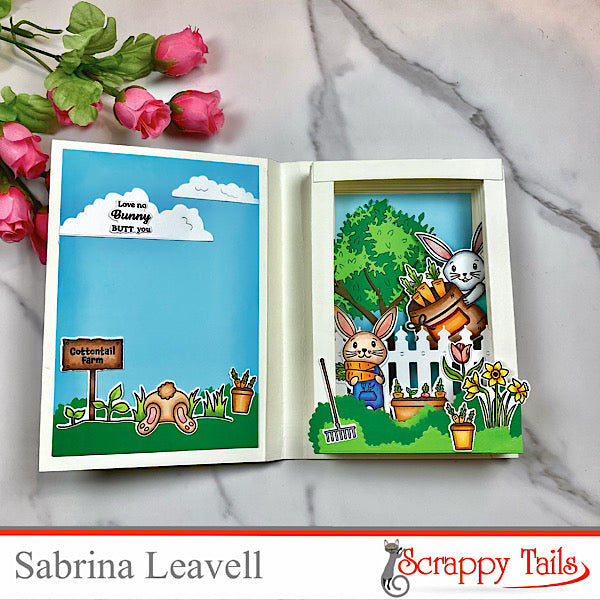
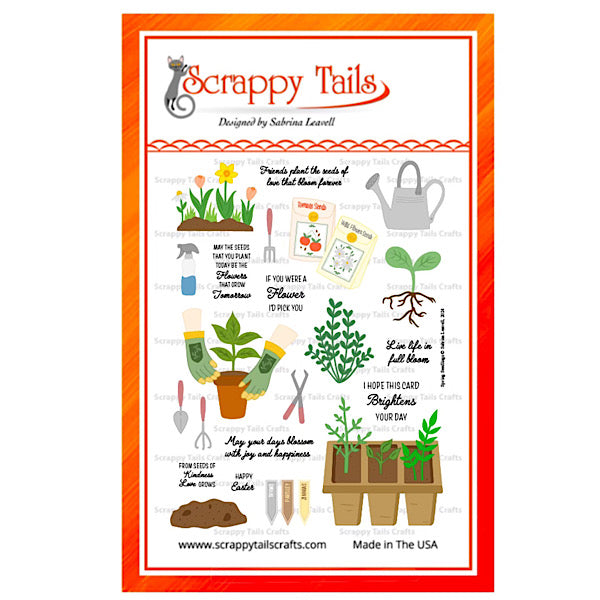
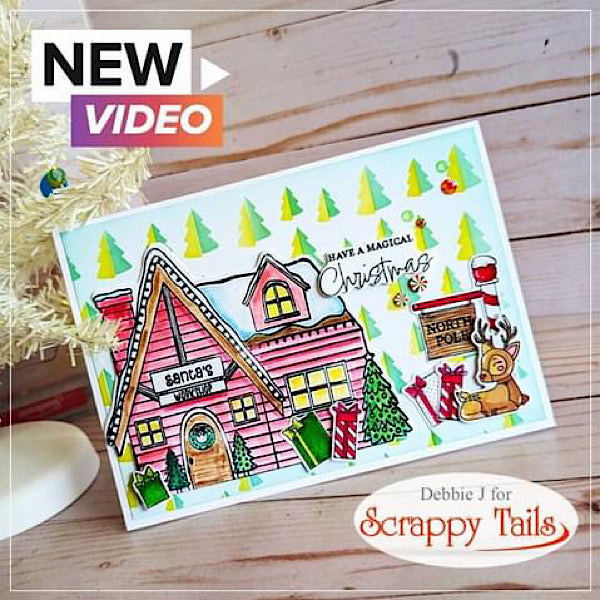
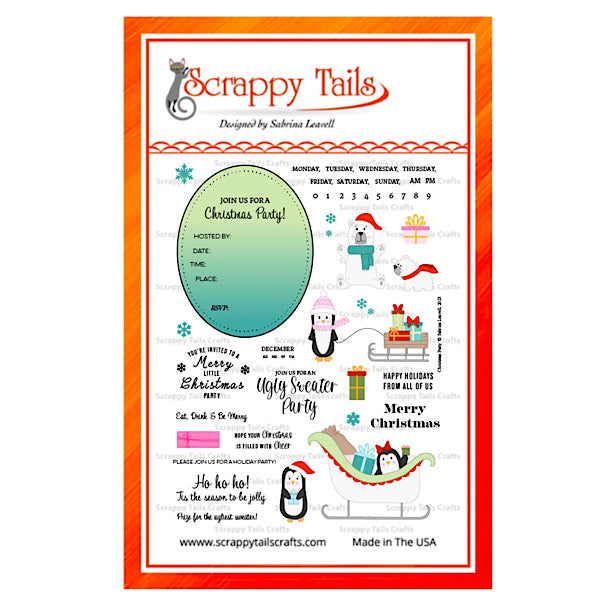
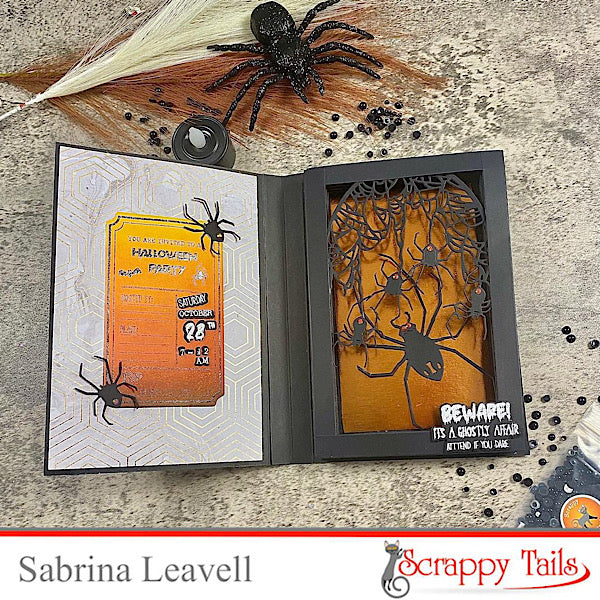
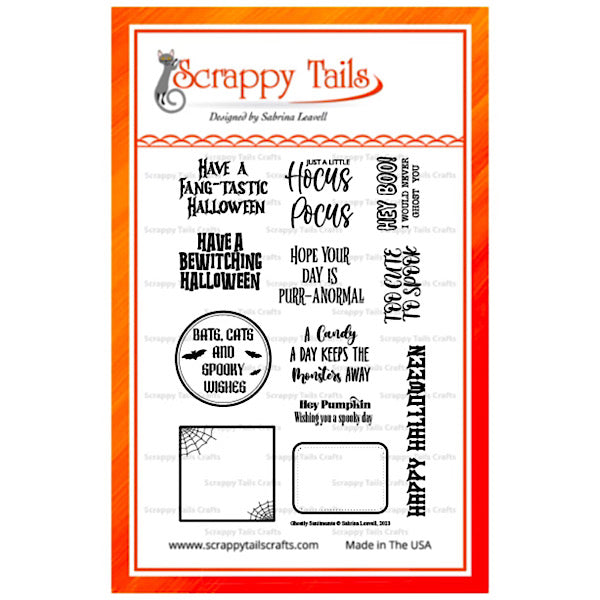
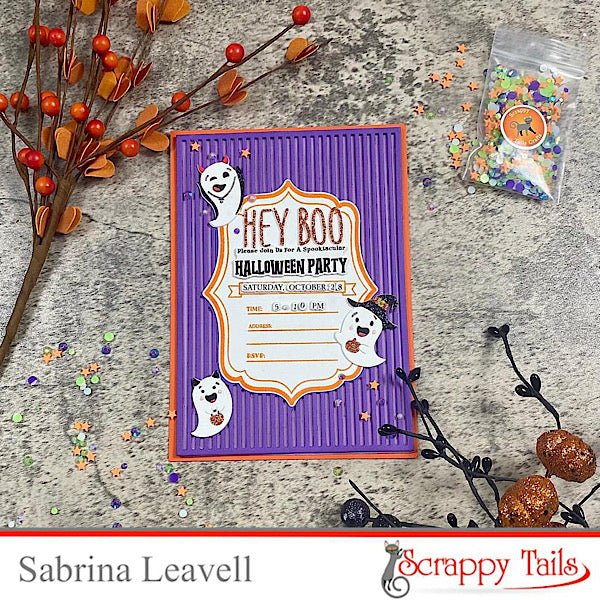
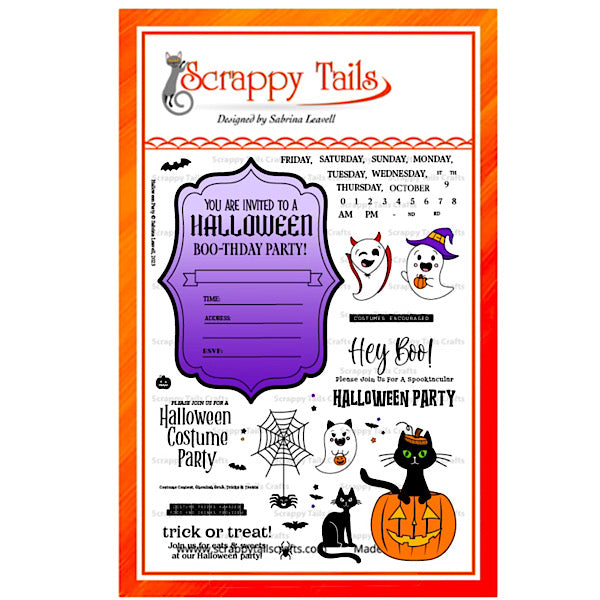
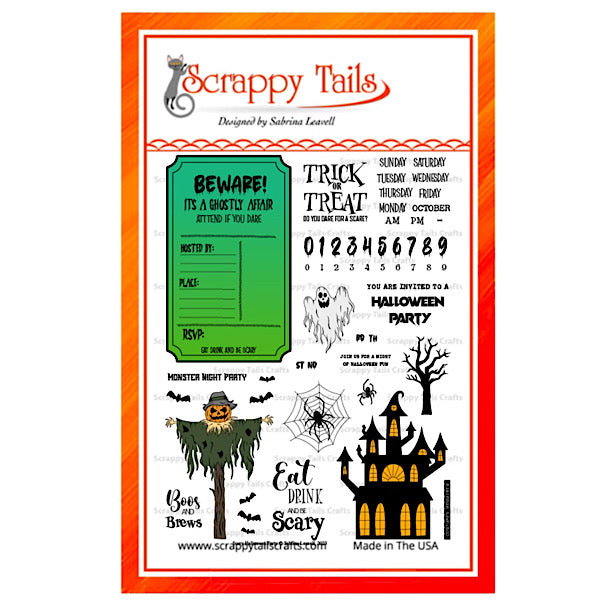
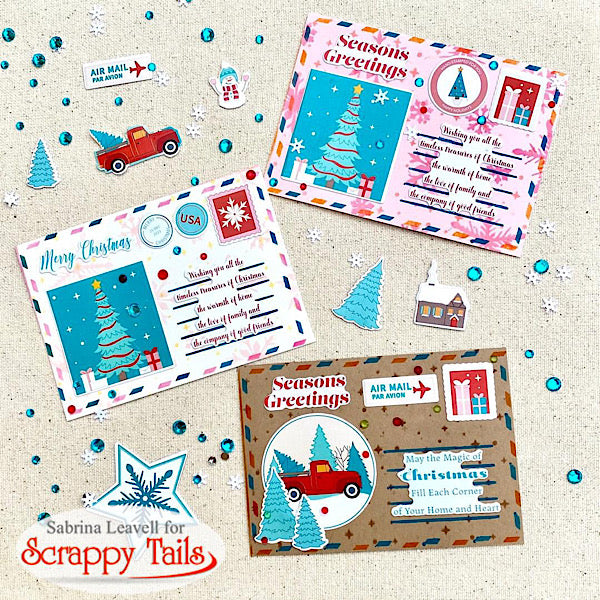
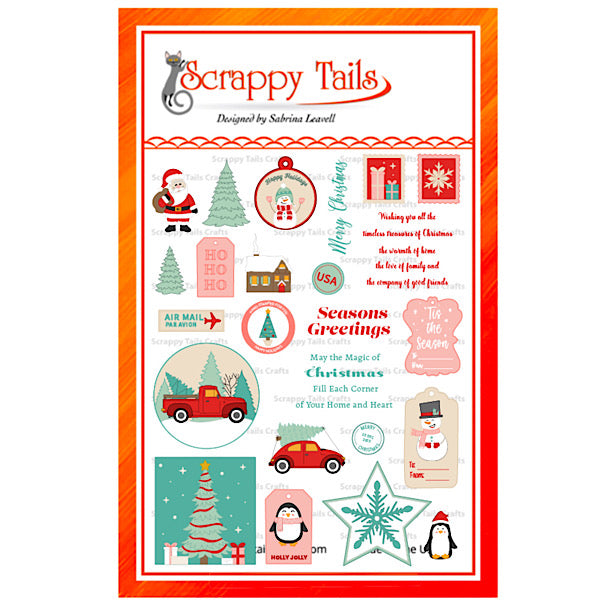
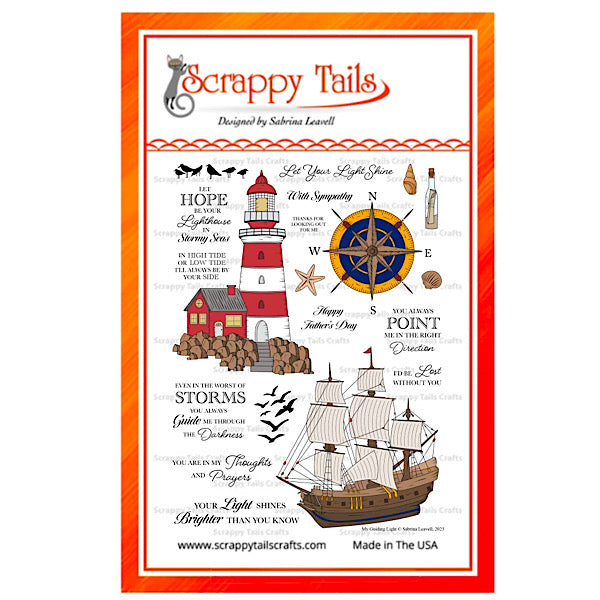
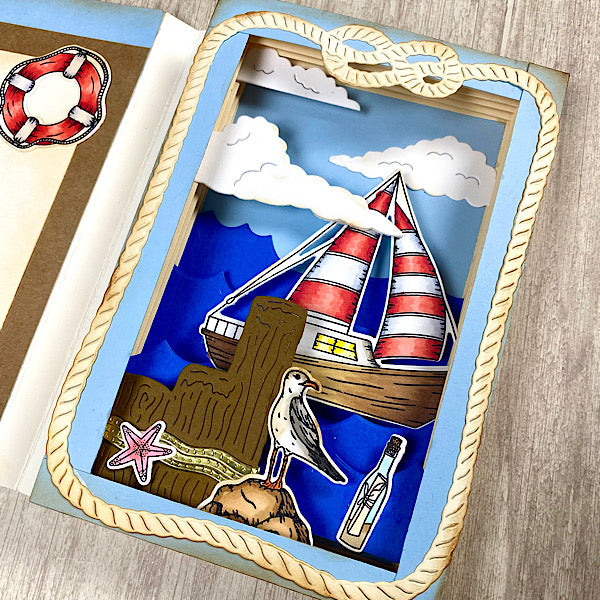
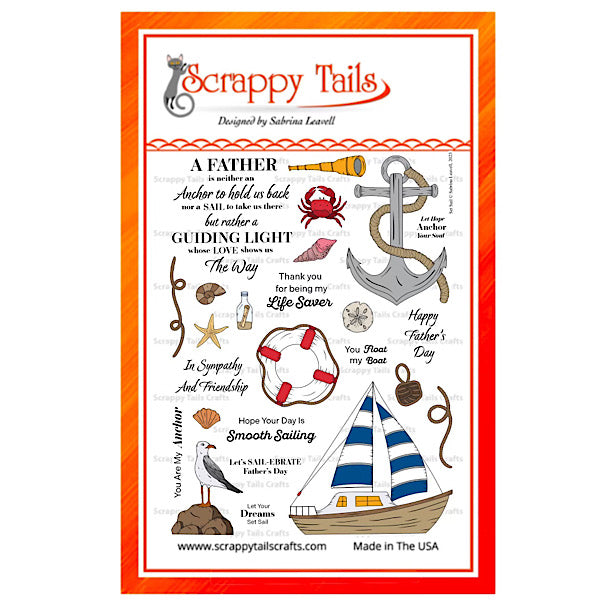
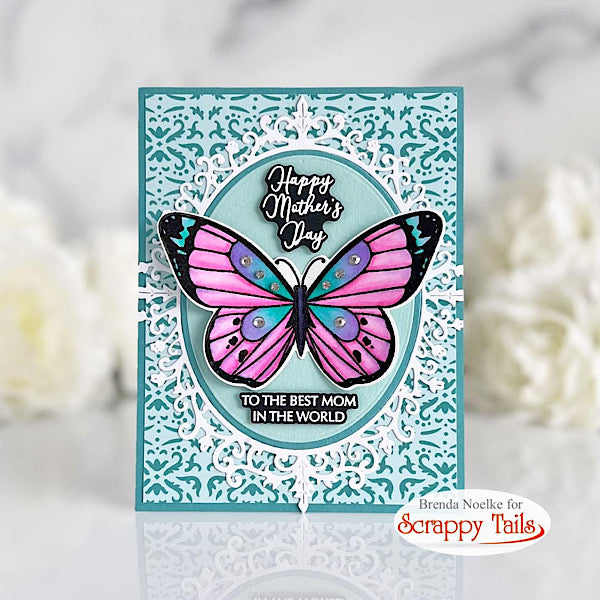
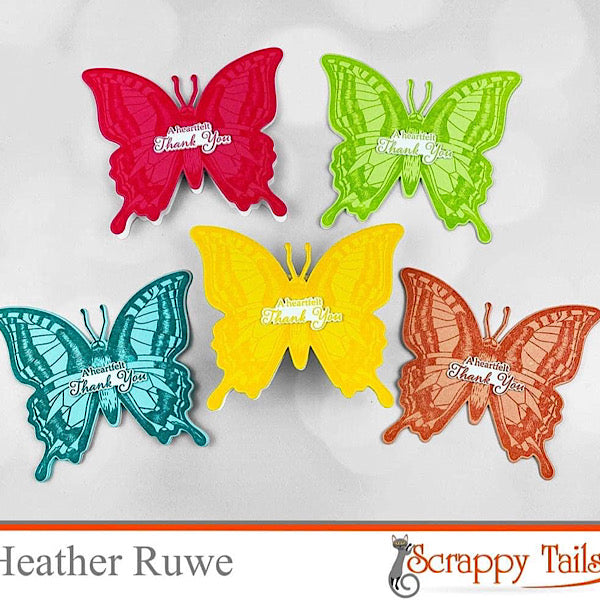
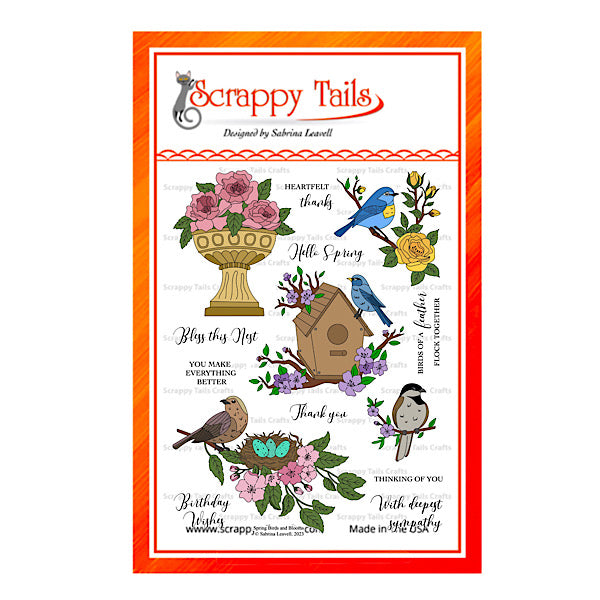
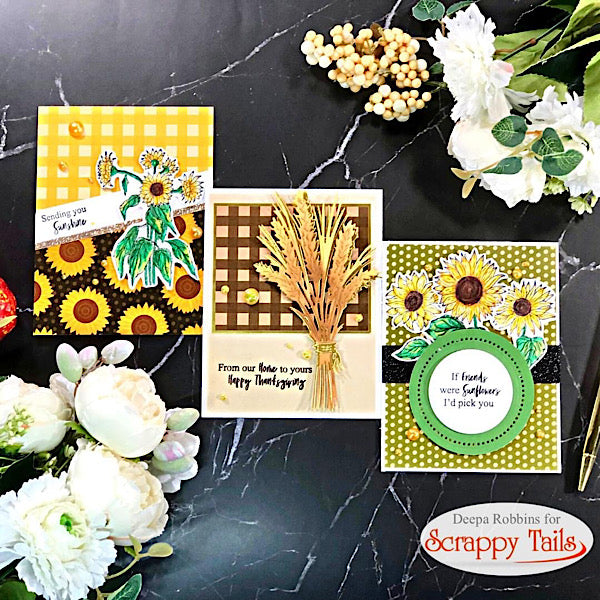
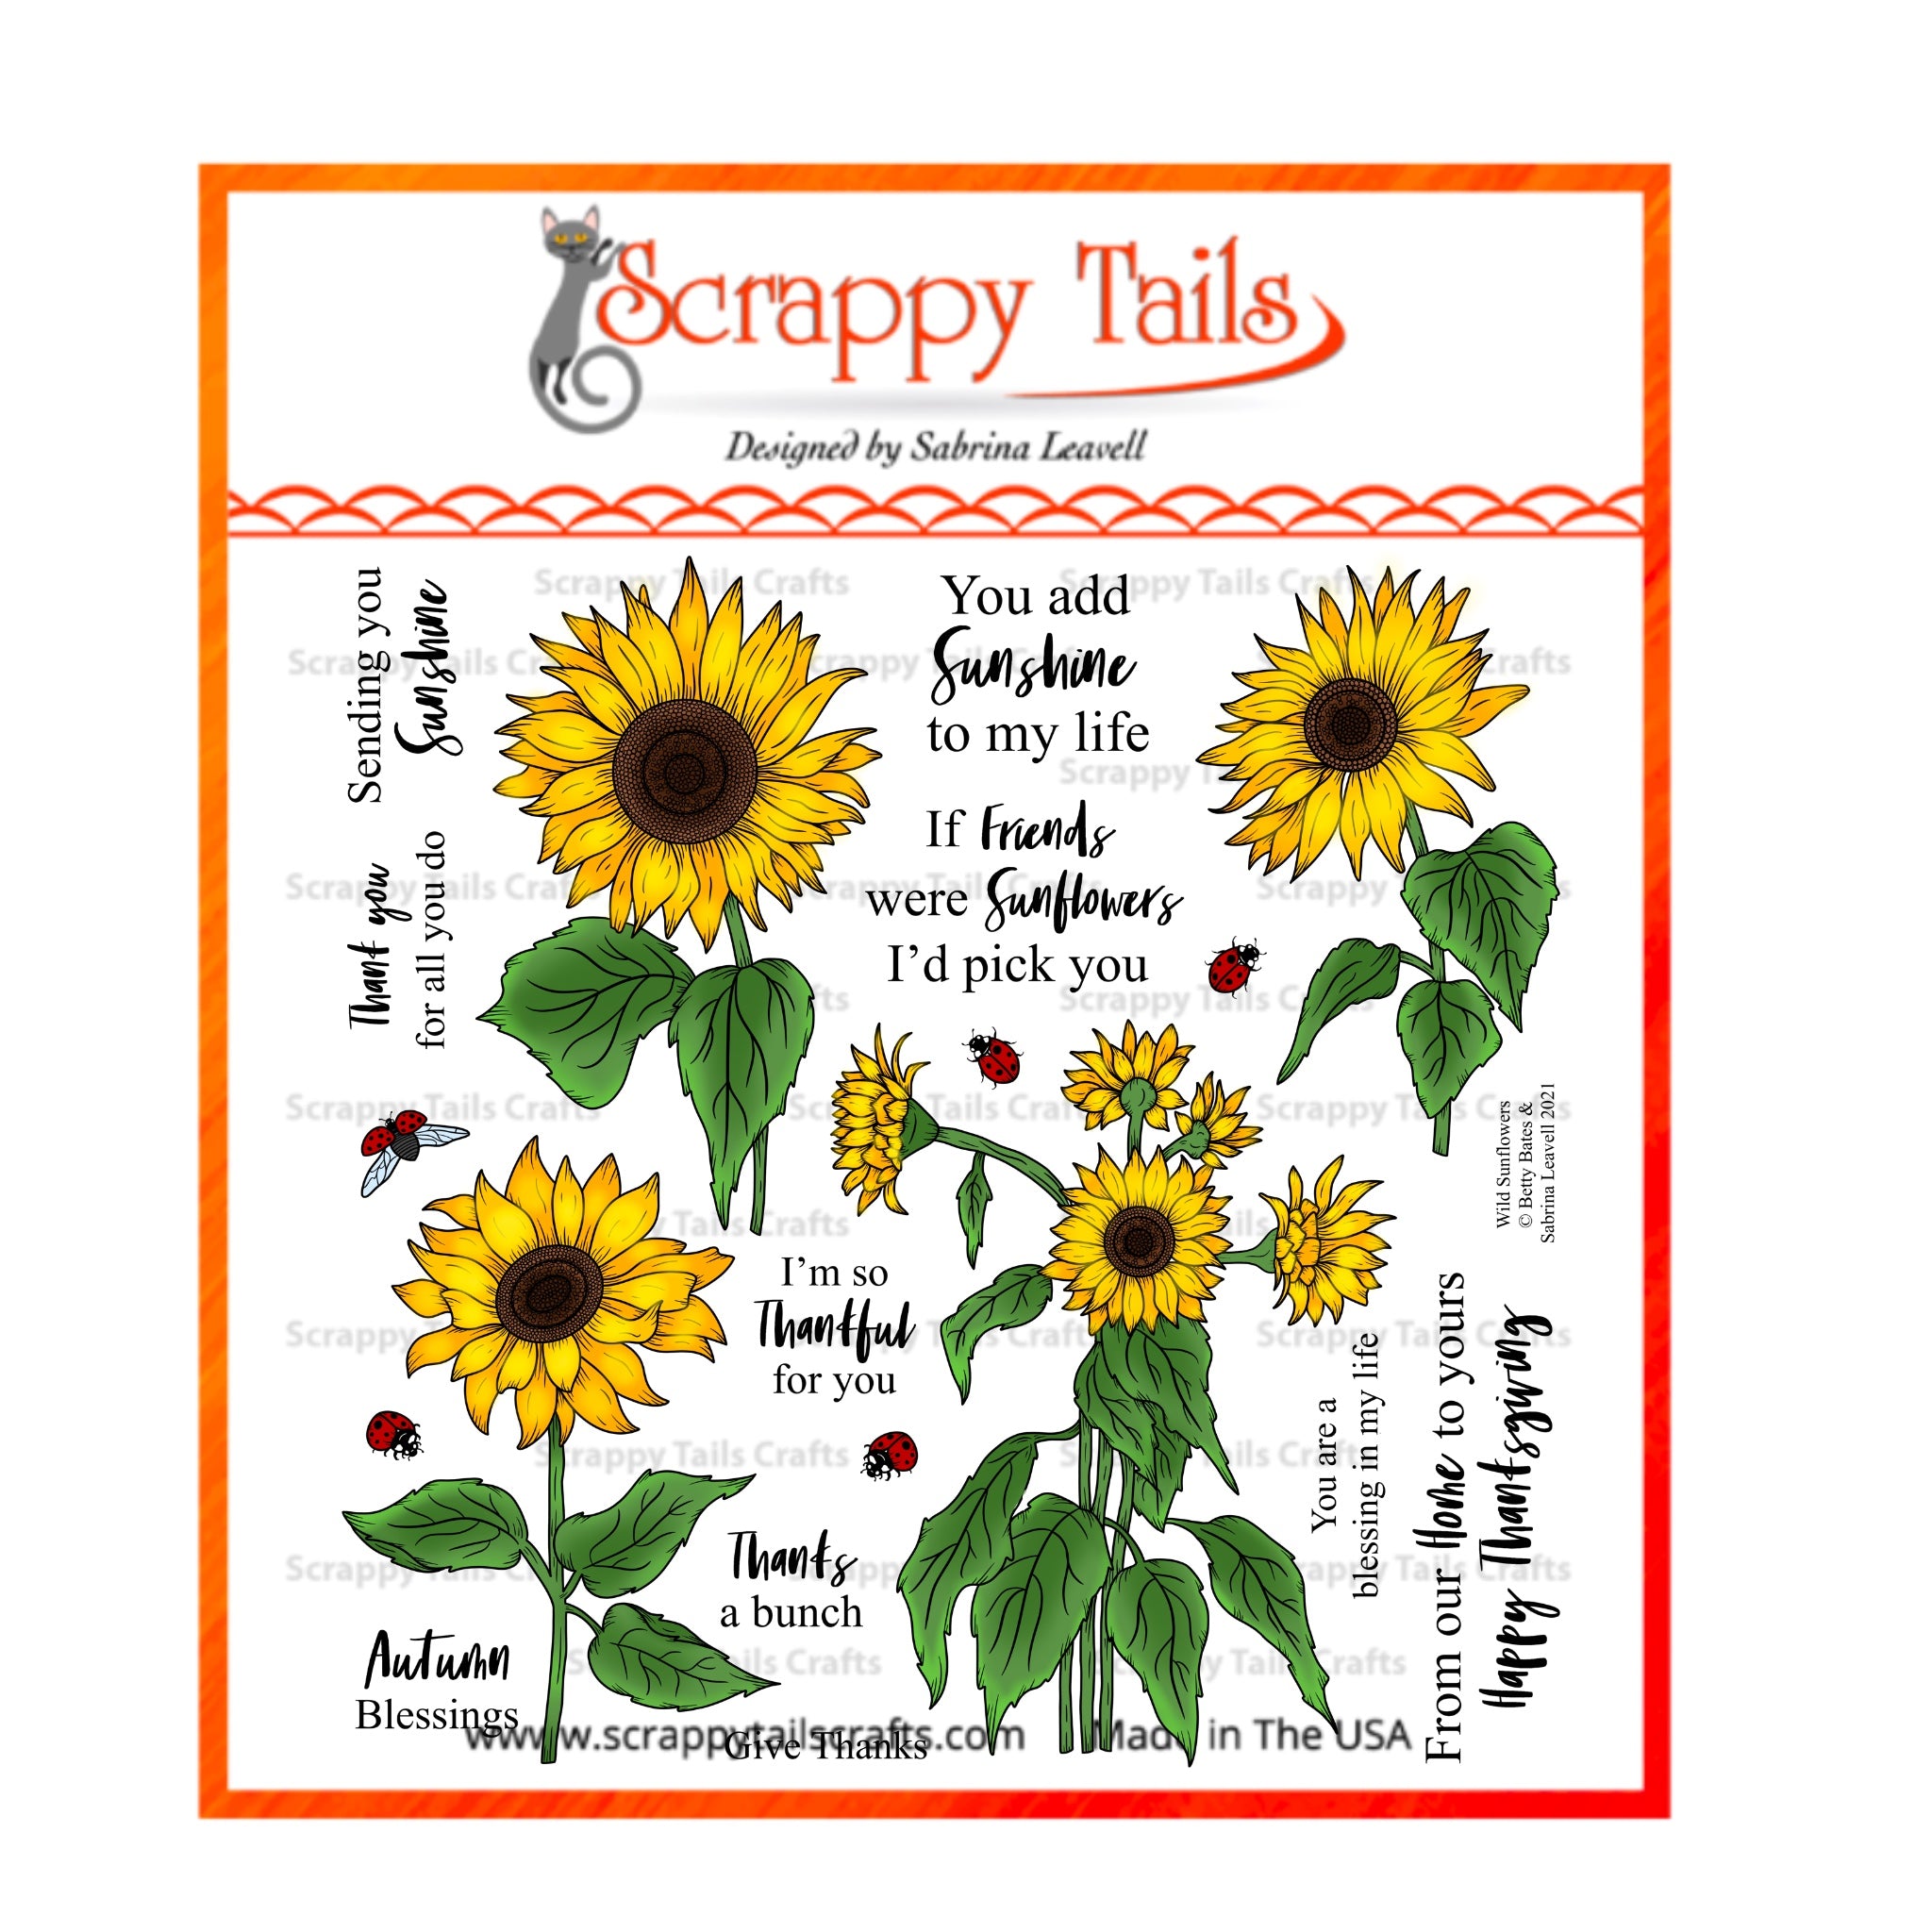
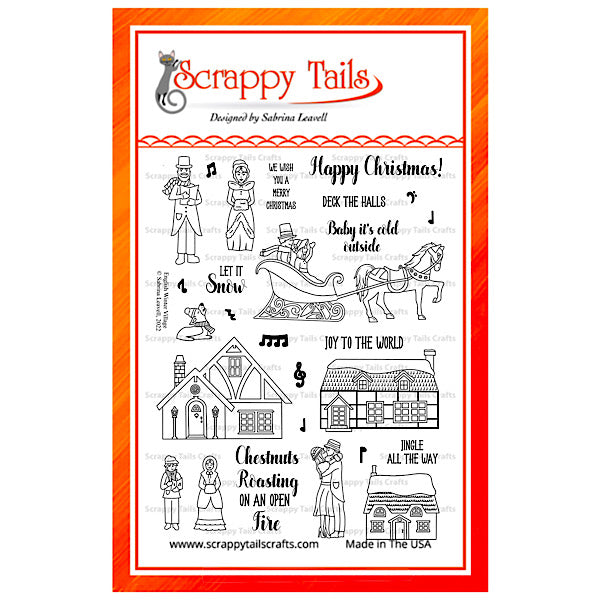
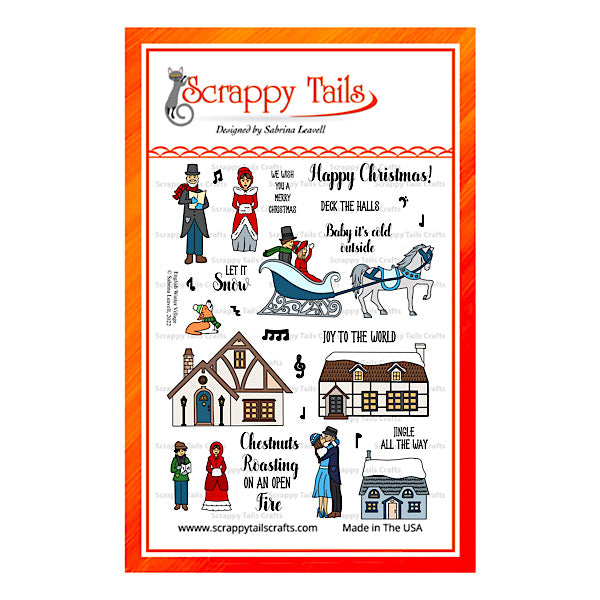
This is our US made, high quality, Photopolymer 6x8 stamp set called “Christmas Party” (the coordinating die is sold separately). This stamp set coordinates with our 2023 Christmas Party Collection. Make your own super cute and adorable Christmas party invitations using this awesome stamp set. It includes everything you need to stamp and create your own diy Christmas party invites for family get togethers, formal Christmas Parties, White Elephant events, Ugly Sweater Parties, Secret Santas, Office Holiday Parties etc (there is a stamp set for all of the different holiday events that you maybe hosting this year)… the invites allow you to stamp your dates, times, rsvps, contact info etc and there are plenty of different invitation verses that you can swap in and out of the main invite. This coordinates with our A7 Winter Scene Cover Plate (for a fun, whimsical event) and also with our A7 Berry Branch Cover Plate (for a more formal event) that is designed to hold your main card shape. The stamp set can be used to create notecard sized invitations and rsvps and also A7 sized cards, especially when combined with the matching cover plate. Also check out the coordinating Christmas Party card kit for all the perfectly matching and curated products.
Directions for stamp use:
- Gently remove the clear stamp from the backing sheet and add the stamp to an acrylic stamp block
- Apply your favorite ink to the surface of the stamp
- Stamp your image on desired paper or cardstock
- Clean stamp with baby wipe or stamp shammy
- Replace stamp back on the backer sheet on store for future use
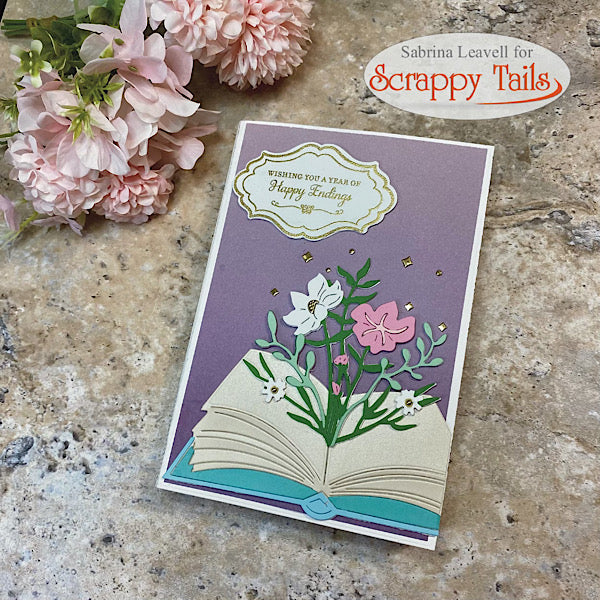
- Color or embellish your images
- Share your beautiful projects with us at #scrappytailscrafts
For inspiration and technique tutorials, please visit our social media channels on YouTube, Pinterest, Instagram and Facebook.
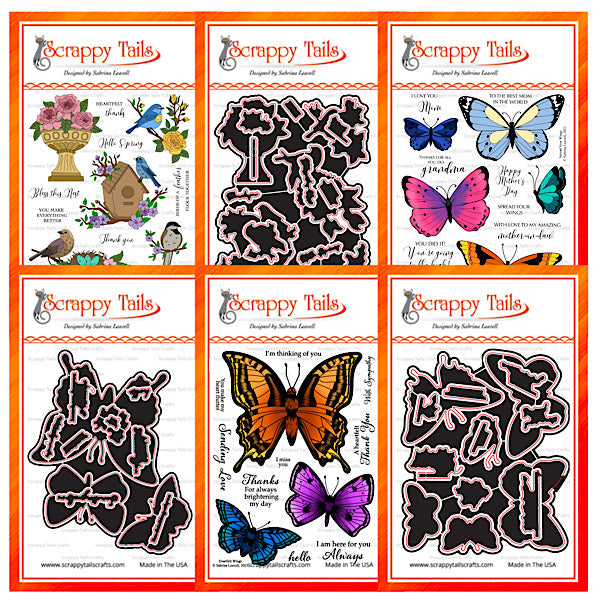
Related Products
From this Collection